Salt Snowflake
It’s been a while since I posted one of my storytimes, but I had a good time doing this one last week at Family Storytime. I have a new group of families who have been coming with their 2 year-olds, so I’ve had to skew my book choices a bit younger. Here is what we read:

A Hat for Minerva Louise by Janet Morgan Stoeke
This book has always held a special place in my heart. Years ago, I had a preschool class who used to come regularly to storytime. There was always one boy in the class I could never seem to engage…until I brought out Minerva Louise. Something about this confused chicken, who thinks a flowerpot is a hat, and a garden hose is a scarf, struck him as the funniest thing ever. He laughed and laughed, and for weeks later, everything I saw him, he said, “Remember that chicken book?” The kids at this week’s storytime laughed at Minerva Louise too. She is just that kind of chicken.
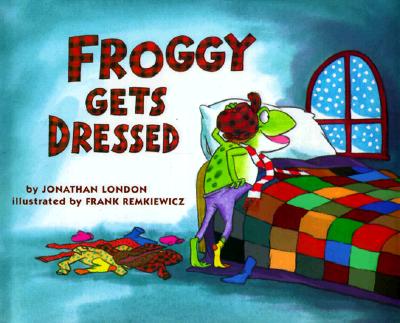
Froggy Gets Dressed by Jonathan London; illustrated by Frank Remkiewicz
I read this book earlier in the week at a local preschool for special needs kids. It was a longer story than I usually share with them, but they LOVED it! Like all of the Froggy books, it has the usual refrain of “FROGGY!” (something I always point out and have the kids say with me), but this one has lots of other sound effects, as Froggy pulls on his boots (“zup!”), puts on his hat (“zat!”), etc. The kids at the preschool echoed all of these sounds, laughing all the way through, in a way I had never seen them respond to a book before. It was amazing! It made me want to seek out other books with simple sounds for them to repeat. My family storytime kids loved the book too, especially when Froggy forgets his underwear!

Here Comes Jack Frost by Kazuno Koharo
I love Kazuno Koharo’s books, with their whimsical artwork and simple, imaginative stories. In this one, a boy befriends Jack Frost, and plays with him all winter, until he accidentally mentions that spring is coming. It reminds me of Frosty the Snowman. The storytime kids were captivated.

If Snowflakes Tasted Like Fruitcake by Stacey Previn
A survey of the kids revealed that none of them had ever tried fruitcake, or were familiar with its reputation, so the book’s punchline (“If snowflakes tasted like fruitcake, we would give them all away.”) was a bit lost on them, but they still enjoyed the other ideas: “if snowflakes tasted like oatmeal, they would get me out of bed;” “if snowflakes tasted like cocoa, they would warm me to my toes.” A warm and simple, rhyming book that appealed to the toddlers as well as the older kids.
SONGS:
Five Little Snowmen Standing in a Row
One of my favorite wintertime songs is “Five Little Snowmen.” The kids love the part where we “melt” to the floor, and I always have them count to three and pop up for the next verse. Click on the triangle for the tune I use. I’ve found other versions of this song on Youtube, but I wish I knew who wrote the version I heard originally.
Five little snowmen standing in a row, (hold up five fingers)
Each with a hat (touch head), and a brightly colored bow (adjust imaginary bowtie).
Five little snowmen dressed up all for show.
Now they are ready,`
Where will they go?
Wait! (hold out hands in a “Stop!” motion) Till the sun shines. (move hands in a circle)
Wait! Till the sun shines.
Then they will go
Down through the fields
With the melting, melting snow (“melt” all the way down to the floor, then pop up for the next four snowmen).
SCARF PLAY:
For the past year or so, I’ve been adding in a scarf play time to my family storytime. The kids always look forward to it. You can find some of my regular songs on this post. For my winter theme, I had the kids sing the first verse of “Let it Snow.”
Let It Snow
Oh, the weather outside is frightful (put scarf around back of neck like a winter scarf)
But the fire is so delightful (hold scarf in hand and bounce it lightly so it looks like a fire).
And since we’ve no place to go
Let it snow! Let it snow! Let it snow! (throw scarf in the air and let it fall to the ground).
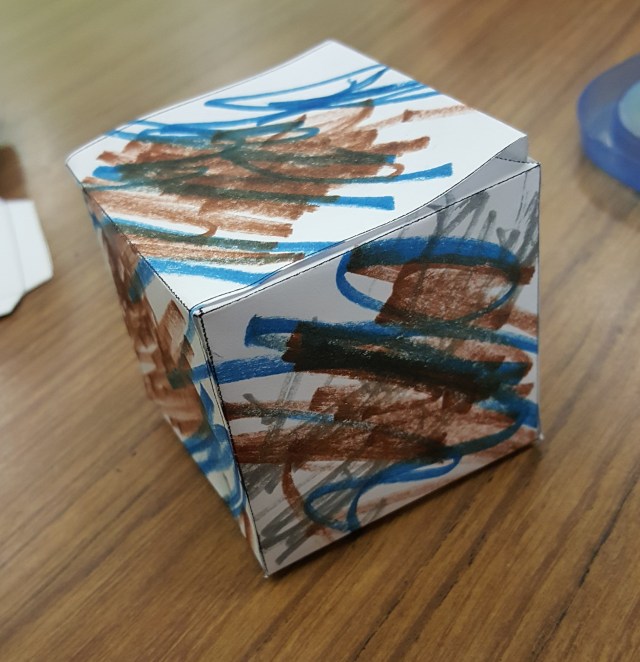
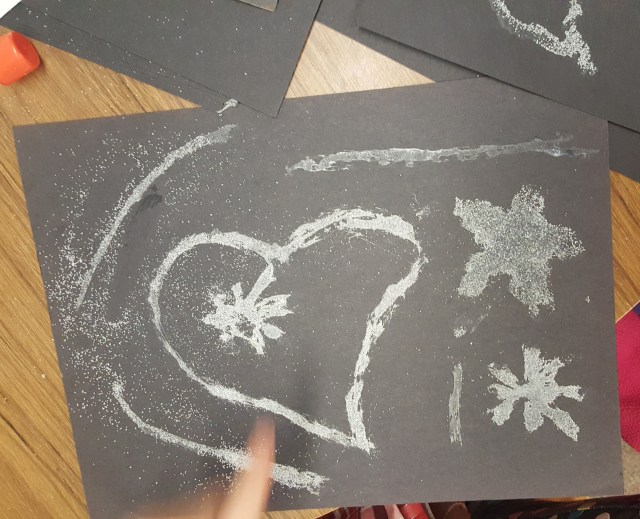
CRAFT: Salt Snowflakes
Lately, given my younger audience, I’ve been switching to more process art-oriented crafts, rather than having the kids replicate a specific project. It cuts down on the frustration for the toddlers, and allows the older kids to get creative. They had a lot of fun making designs on black paper with glue sticks, and sprinkling salt on top. I also put out some chalk in case they wanted to add some color. The only challenge was keeping the kids from eating copious amounts of salt! My sample snowflake is at the top of this post. Here’s some other salt art the kids came up with:
Salt Art by Jade

Salt and Chalk Christmas Tree by Jordan (and his dad)
OTHER PICTURE BOOKS ABOUT SNOW:
The Snowy Day by Ezra Jack Keats
The timeless classic (and one of my own favorites from childhood) about a boy’s adventures on a snowy day.
Snow by Uri Shulevitz
Another favorite of mine, and great for even the youngest toddlers. This is a simple story about a boy’s hope for snow in spite of all of the grouchy adults who insist it will never come.
The Mitten by Jan Brett
Another classic, although a bit too long for the toddlers, about a boy whose lost mitten serves as a shelter for a number of animals.
What are your favorite books about snow? Please share them in the comments.