I had a whole superhero storytime planned for tonight, but when I got to work, my coworker, Nancy, told me it was World Elephant Day, a day dedicated to the protection of elephants and their habitats. Well, I couldn’t resist that, especially since there are so many great elephant books, including the entire Elephant and Piggie series by Mo Willems. I quickly reworked my plan. Here is what I read:
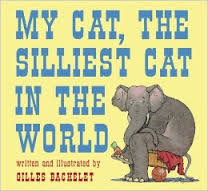
My Cat, the Silliest Cat in the World by Gilles Bachelet (Amazon.com link)
I read this one mostly because I was curious about how it would go over. It’s basically one big visual joke: the author describes various things about her cat, but all of the illustrations are of a big elephant. A few months ago, I heard it read at a storytime at another library, and the reader just jumped in without any explanation. The kids in that audience mostly just looked perplexed, as if they were too polite to comment on what was obviously a huge mistake. This time, I took a moment to read the kids the title and point to the literal Elephant in the Room, asking, “Is that a cat?!” They all answered no, and from then on, at the least the older kids (maybe three and up) were in on the joke. The illustrations are a lot of fun, showing the elephant sleeping on the TV, playing with yarn, and performing other cat-like activities. The kids especially liked the page showing elephants with different patterns (black-and-white, leopard-spotted, etc.), and (of course) the picture of the elephant scooping poop into the litter box.

I Broke My Trunk by Mo Willems (Amazon.com link)
The hardest thing about this storytime was choosing which Elephant and Piggie book to read, but I settled on this one because it focused on Gerald’s trunk, and because it’s so much fun to read aloud. Piggie is shocked to see Gerald with his trunk all bandaged up. When she asks him what happened, he tells her a long, crazy story about trying to lift two hippos, a rhinoceros, and a piano on his trunk. Surprisingly, that’s not how his trunk got broken… The kids and parents all loved this one, and one mom took it home to share with her older son, who had somehow missed reading this book in the series.

What to Do If An Elephant Stands on Your Foot by Michelle Robinson and Peter Reynolds (Amazon.com link)
A hapless girl is told what not to do when an elephant steps on her foot, and then proceeds to do exactly the wrong thing every time. She startles the elephant, is chased by a tiger, gets treed by a rhinoceros, frightened by snakes, and threatened by a crocodile, until finally she is rescued by monkeys. It’s a funny story with lots of ways for kids to participate: sneezing loudly, miming climbing a tree, taking deep breaths, etc. The kids also enjoyed naming the animals as we got to each one. This is a good example of a “circle story,” since the elephant is startled all over again at the end.

A Beautiful Girl by Amy Schwartz (Amazon.com link)
A little girl out on a walk meets a baby elephant who comments on her very strange trunk. When she explains that it is actually her nose, he asks her if she eats peanuts with it or sprays herself with water. She tells him all the things she actually uses her nose for. She then meets a robin, who thinks she has a silly beak, a fly, who asks if she has one hundred eyes, and a goldfish, who marvels at her silly gills. The kids laughed at many of the misunderstandings.
SONGS:
Elephants Have Wrinkles
I learned this song back when I briefly taught Kindermusik, and I’ve loved it ever since. I like to ask the kids for suggestions of where elephants have wrinkles (tonight we did legs, ears, tails, and bellies), and sing the song faster each time. Click on the triangle for the tune:
Elephants have (pat legs on each syllable)
Wrinkles, Wrinkles, Wrinkles (clap hands on each syllable)
Elephants have (pat legs on each syllable)
Wrinkles (clap hands on each syllable)
Everywhere! (stomp feet on each syllable)
On their nose! Oh-oh! (touch your nose, and mime a trunk)
Repeat
Elephants have wrinkles…
On their legs! On their nose! Oh-oh!
The Elephant Goes Like This And That
The elephant goes like this and that (swing arm like a trunk)
He’s oh, so big (spread arms wide)
And he’s oh, so fat!
He has no fingers (wiggle fingers)
And he has no toes (point to toes).
But goodness gracious, what a nose! (touch your nose and mime a long trunk)
Head and Shoulders, Knees and Toes
I do the standard version of this song, which most people probably know, but do it faster and faster each time.
Going to the Zoo by Tom Paxton
I did this song on the ukulele, and gave the kids rhythm instruments to play along: The tune, lyrics, and uke chords are below:
Daddy’s taking us to the zoo tomorrow (C)
Zoo tomorrow, Zoo tomorrow. (G7)
Daddy’s taking us to the zoo tomorrow, (C)
And we can stay all day. (C G7)
CHORUS:
We’re going to the zoo, zoo, zoo! (F)
How about you, you, you? (C)
You can come too, too, too! (G7)
We’re going to the zoo, zoo, zoo! (C G7 C)
See the elephants with the long trunk swinging,
Great big ears and a long trunk swinging.
Snuffing up peanuts with the long trunk swinging,
And we can stay all day!
CHORUS
See all the monkeys, they’re scritch, scritch, scratchin’.
Jumping all around and scritch, scritch, scratchin’.
Hanging by the long tails scritch, scritch, scratchin’,
And we can stay all day!
CHORUS
Well, we stayed all day, and I’m getting sleepy,
Sitting in the car getting sleep, sleep, sleepy.
Home already and I’m sleep, sleep, sleepy,
‘Cause we have stayed all day!
We’ve been to the zoo, zoo, zoo!
So have you, you, you!
You came too, too, too!
We’ve been to the zoo, zoo, zoo!
But Mommy’s taking us to the zoo tomorrow
Zoo tomorrow, Zoo tomorrow.
Mommy’s taking us to the zoo tomorrow,
And we can stay all day!
CHORUS
CRAFT: Paper Elephant Puppets

Elephant Finger Puppet by Kiley
I found this elephant finger puppet template on KidsArtPlanet.com: http://www.kidsartplanet.com/artsandcrafts/2007/12/10/elephant-paper-finger-puppet/. I copied and pasted the photo into Word and enlarged it a bit, then printed it, and cut it out. Originally, I planned to have the kids use their fingers as the trunks, but a couple of them wanted to make paper trunks instead. For them, I cut out strips of paper, and showed them how to fold them accordion style and glue them over the hole. It actually turned out really well, because the hole ended up looking like a mouth underneath the trunk. (I’ve also seen similar crafts that use party blowers for the trunk, which would be cute, and might also make elephant noises).
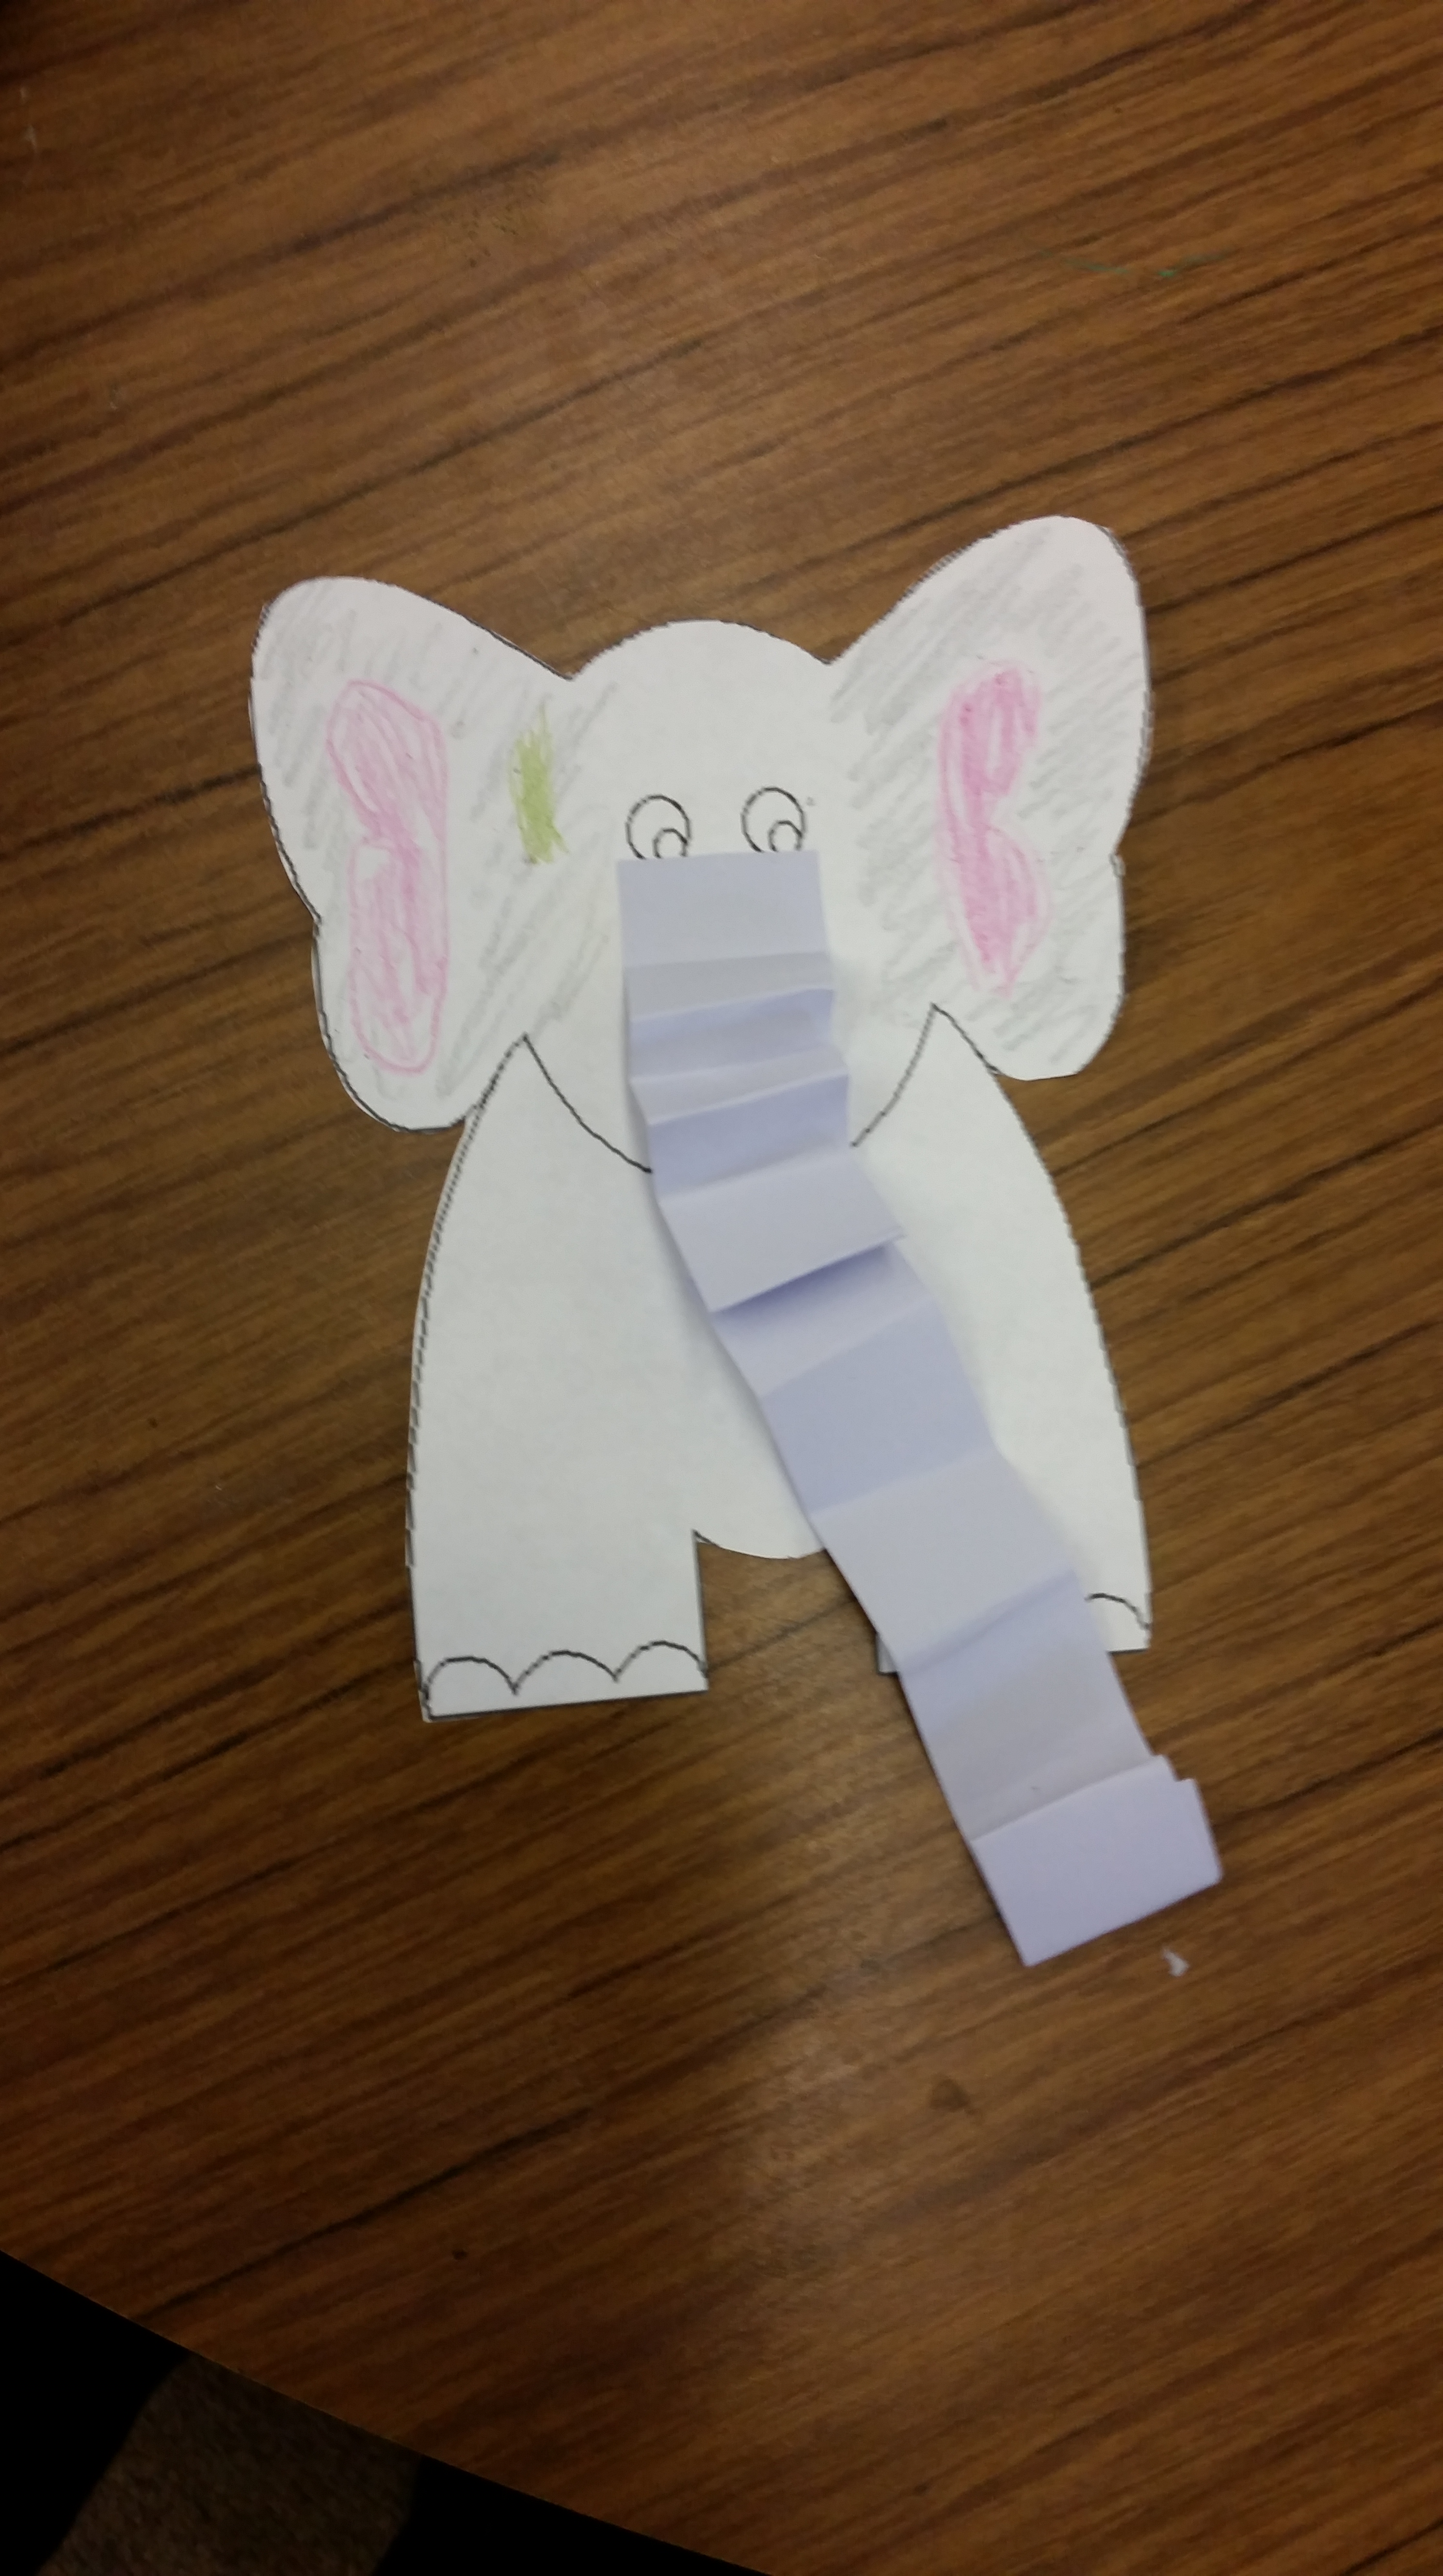
Elephant with paper trunk
OTHER PICTURE BOOKS ABOUT ELEPHANTS:
Go to Sleep,Gecko by Margaret Read MacDonald; illustrated by Geraldo Valerio (Amazon.com link)
I wish I had remembered this story when I was pulling books, because it’s one of my favorites. It’s a Balinese folktale about a gecko who complains to Elephant, the village boss, about the fireflies, who keep blinking their lights on and off outside his window. Elephant talks to the fireflies, who tell him that they are only trying to light the path because Buffalo leaves poop in the road. But Buffalo says he is only trying to fill the holes left by Rain, and Rain says she is only trying to make puddles for the mosquitoes so that Gecko will have something to eat. I love the moral: This world is all connected. Some things you just have to put up with.” A wonderful read-aloud that fits well with either a folk-tale or environmental theme.
How to Catch an Elephant by Amy Schwartz (Amazon.com link)
This one is ridiculous, but so much fun to read. It’s basically one long joke about how to catch an elephant with three cakes, two raisins, a telescope, and tweezers. Warning: elephants hate cake! The best part of this book are the descriptions of the angry elephant rampaging on the cake: “That cake is flatter than a tortilla in Oaxaca.”
What are your favorite books about elephants?


