
A completed Spool Car
Sorry for the embarrassingly long lapse in posts. I’m still doing my regular weekly storytimes, but haven’t had time to write them up lately. But recently I was asked to lead a series of STEM (Science Technology Engineering and Mathematics) workshops for grades 5 and 6 at the Burlingame Public Library, and yesterday was the first one.
I admit I was a tiny bit terrified of leading these workshops, since I usually work with much younger kids, and most of the actual instruction I’ve done has been in music and art. I was worried about finding science projects that would be challenging and interesting enough for tweens, yet not too complicated or expensive for an hour-long class. But I had two wonderful aces in the hole: my coworker, Carbelle Imperial, who has been offering Make It classes at the Pacifica-Sharp Park Library for two years; and my son, who happened to be right in the target age group and the perfect guinea pig. Carbelle gave me a list of web resources, and also pointed me towards some of the projects that worked the best for her.
For the first class, I chose the theme Science in Motion. The library had required advanced registration, which was limited to 25 5th and 6th graders. I ended up with 15 yesterday, which worked really well.
I started by introducing the topic of motion, and asking the kids what makes things move. We talked for a few minutes about force and different types of energy, and then I pulled out a rubber band to demonstrate potential energy (the energy that is stored up when you stretch the rubber band out), and kinetic energy (the energy of motion created when you release it). Then I introduced the spool car that we would be making.
The spool car was a project that Carbelle recommended. I had played around with a couple of other rubber band car models that used CDs for wheels, but I could never find a reliable way to attach the CDs. My kids gamely tried too, and for days our house looked like a miniature salvage yard. Finally, Carbelle pointed me to the Instructables Spool Car from the Children’s Museum of Houston, which was vastly less complicated. The only real challenge was tracking down large wooden spools (1.125″ x 2.75″), which I finally found at Michael’s (I snagged the last 5 packages in the store).
The model I ended up using in the class was actually based on Steve Spangler’s Wind Up Racer. This one uses a pencil instead of a wooden skewer, and a toothpick instead of a paper clip to hold the rubber band in place.
To make the Spool Car, you first have to thread a rubber band through the hole of a wooden spool. This is the hardest part of the whole project. My son came up with the idea of creating a hook out of a pipe cleaner, attaching it to the rubber band, and then threading it through the spool. Unfortunately, I forgot to bring pipe cleaners to the class, but we improvised with hooks made with paper clips. It was still a struggle for the kids to thread the spools though, and I ended up having to help a number of them with this step. It helps if you slide the toothpick through the rubber band at the end of the spool first, to anchor the rubber band and keep it from getting lost inside the hole.
Once you get the rubber band stretched all the way through the hole, thread it through a metal washer (I used 1/4″ x 7/16″ flat washers), and loop it around the pencil. Break the toothpick so that it no longer hangs over the edge of the spool, and tape it down with masking tape.

Side view of broken toothpick, stuck through the other end of the rubber band and held with masking tape
Now you have a spool car. To make it go, wind the pencil clockwise several times, then set the whole thing down on a flat surface. The rubber band unwinds, spinning the spool, and making it roll.
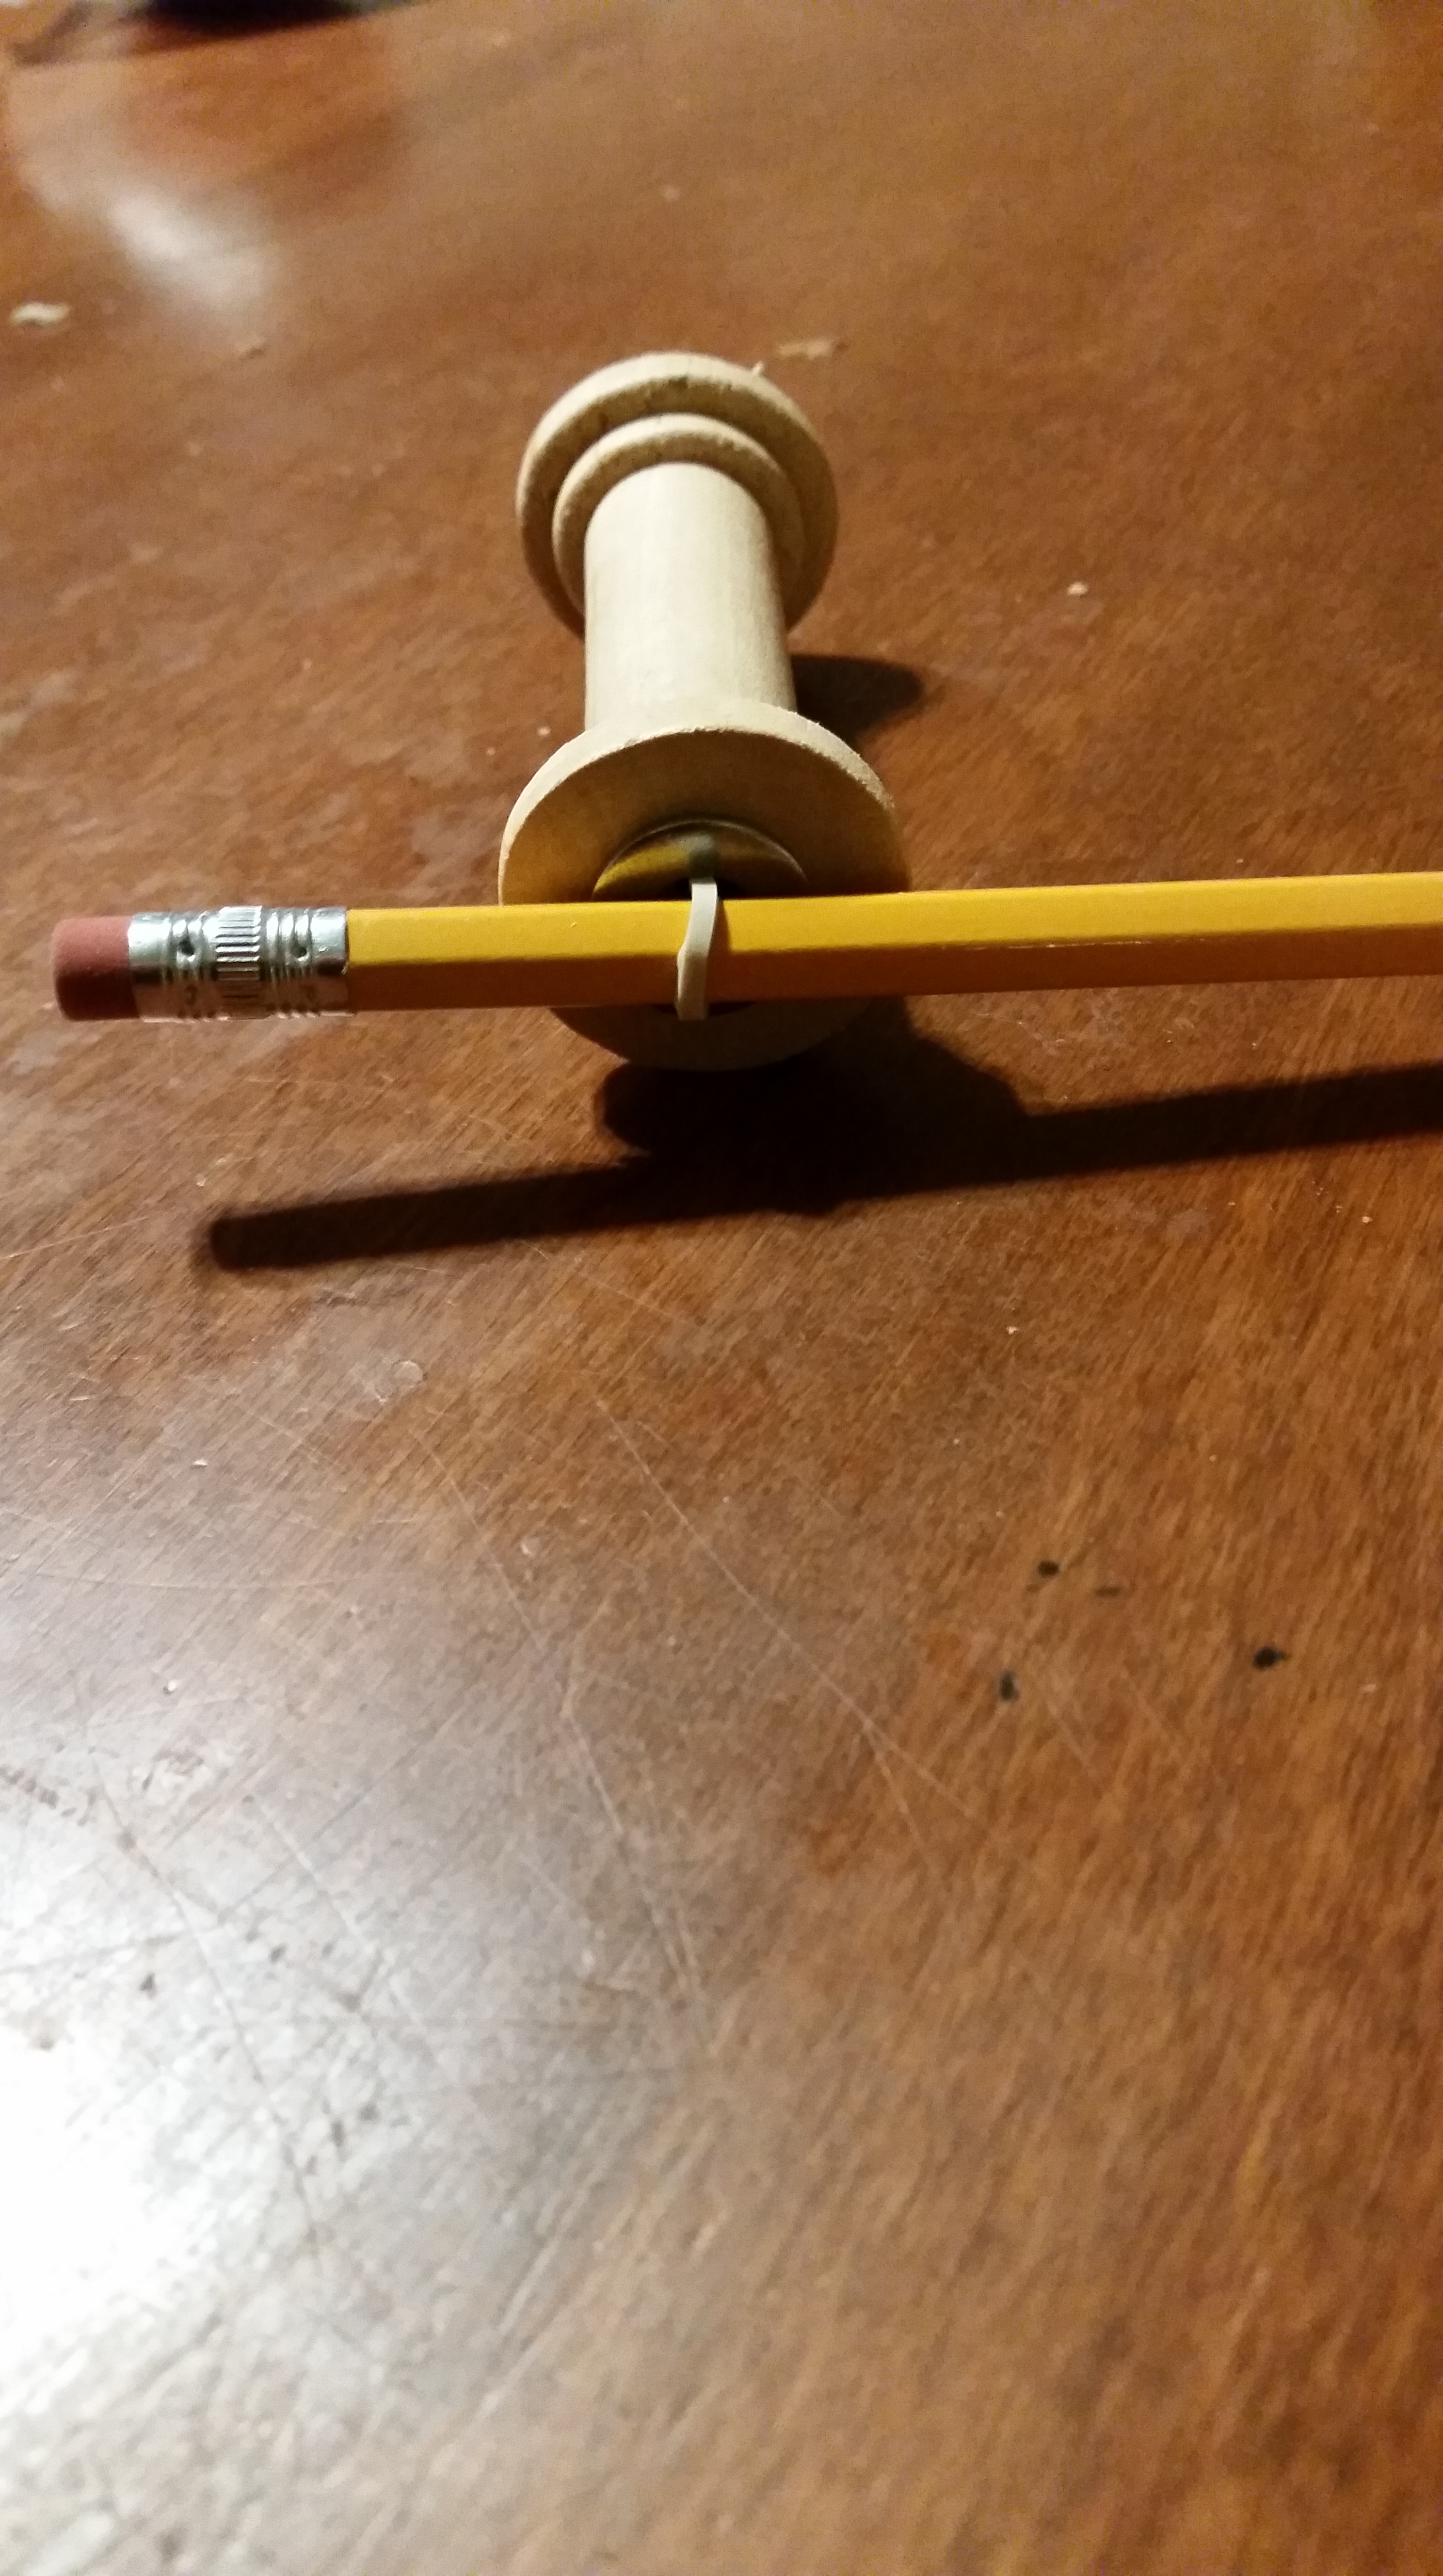
Side view of rubber band threaded through metal washer and looped around the pencil
I had originally planned to have the kids race their spool cars, and then tweak them to see if they could improve their speed or reliability. But the room we were working in had a carpeted floor, which made it harder to run the cars on. Also, the kids were finishing their cars at different rates. Instead, I challenged them to try out new designs, which they seemed to enjoy. One girl attached a second pencil on the other side of the spool, and discovered that she could make the two pencils spin in different directions. A boy attached two spools together to make a wider car. They all seemed engaged in different ideas, some of them eagerly jumping up to share their discoveries, others working quietly on their own.
One thing I would do differently is to buy better quality rubber bands. I had an assortment I purchased from Target, along with some I brought from home, but most of them broke after a few spins, which was frustrating for the kids. Thicker rubber bands definitely work better, as well as rubber bands that are just long enough to go through the spool (some kids used longer rubber bands, but we ended having to tie knots in them to make the spool car work). I think the race idea would have been a lot of fun too, although it might have made some of the shyer kids uncomfortable. I had debated in the beginning about whether or not to have the kids work in pairs. I didn’t end up doing that, but I noticed that a few of them ended up sharing ideas with other kids automatically, while others sat away from the larger groups. I think I’ll probably just go with what they seem inclined to do naturally.
Although they all seem happily engaged in working with their spool cars, I had one more project I wanted to introduce. I started by pulling out a balloon, and blowing it up with air. I asked the kids whether the air inside the balloon was under high pressure or low pressure, and asked what would happen if I let it go. We talked briefly about air always going from high to low pressure, and about the thrust that is created by air rushing out of a balloon. Then I let the balloon fly wildly around the room, which they loved. I asked if they could think of any way we could control where the balloon went, and several of them suggested changing the way I was holding it. Then I said we were going to make a track for the balloon, and demonstrated the balloon rocket.
The balloon rocket is incredibly simple, but it was a huge hit. All you do is inflate a balloon and tape a drinking straw to it (it’s easier if you cut off the “bendy” part of the straw). I had one kid hold the end of a long piece of plastic cord, while I threaded the other end of the cord through the straw. Then, when I stretched the cord to the other end of the room and let the balloon go, it went flying along the cord all the way across the room.

Completed balloon rocket, ready for launch!
The one thing I forgot to bring for this was clothespins, which would have been helpful to keep the balloons closed until the kids were ready to “launch” them. I did remember to bring two balloon pumps, which sped up the inflating process a lot. I tied the cord to an easel on the far end of the room, and one by one the kids threaded their straws onto it and watched them fly across the room. A few of them tried their own experiments. One boy tied two balloons together, and then three. To his surprise, they spun around the cord instead of going straight across, and didn’t make it all the way to the end.
At five minutes past the end of class, the kids were still happily playing with balloons, while their parents tried to hustle them out the door. And while I was left with a lot of balloon and rubber band corpses to clean up, I was happy that they all seemed to have a good time.
Next week’s theme is chemistry. So far, I am planning to make lava lamps, rubber balls, and demonstrate a “naked” egg, but I’d welcome any other suggestions! Now that the first class is out of the way, I’m excited to see where the program goes.
